If you are using Outlook email client in Windows and planning to move to Apple Mail. You can take the help of this tutorial to simply import PST files to an Apple Mail client. Here, we have provided an entire detailing and the easy technique to move Outlook emails into Apple Mail.
Table of Contents
ToggleAbout Outlook
Outlook is an email client provided by Microsoft for Windows users. It is an easy-to-use application and all data of the user is stored in PST file format. Outlook comes with Office Suite, there is no need to purchase it separately.
About Apple Mail
Apple Mail is a famous email client for Mac users. It stores the database in EMLX file format. It is well known for its security features that secure your database from outsiders.
The requirement to convert Outlook data into Apple Mail
There are multiple reasons behind the conversion of PST data into EMLX format –
- Apple Mail is a free emailing client whereas Outlook comes with MS Office Suite.
- Apple Mail is well known for its security features and protects your mailbox from predators and viruses.
- When a user wants to move from Windows to the Mac operating system, he/she needs to migrate the PST database to Apple Mail.
- EMLX is a single file format so it is easy to access and manage your important emails with EMLX format.
Software to import PST files to EMLX format
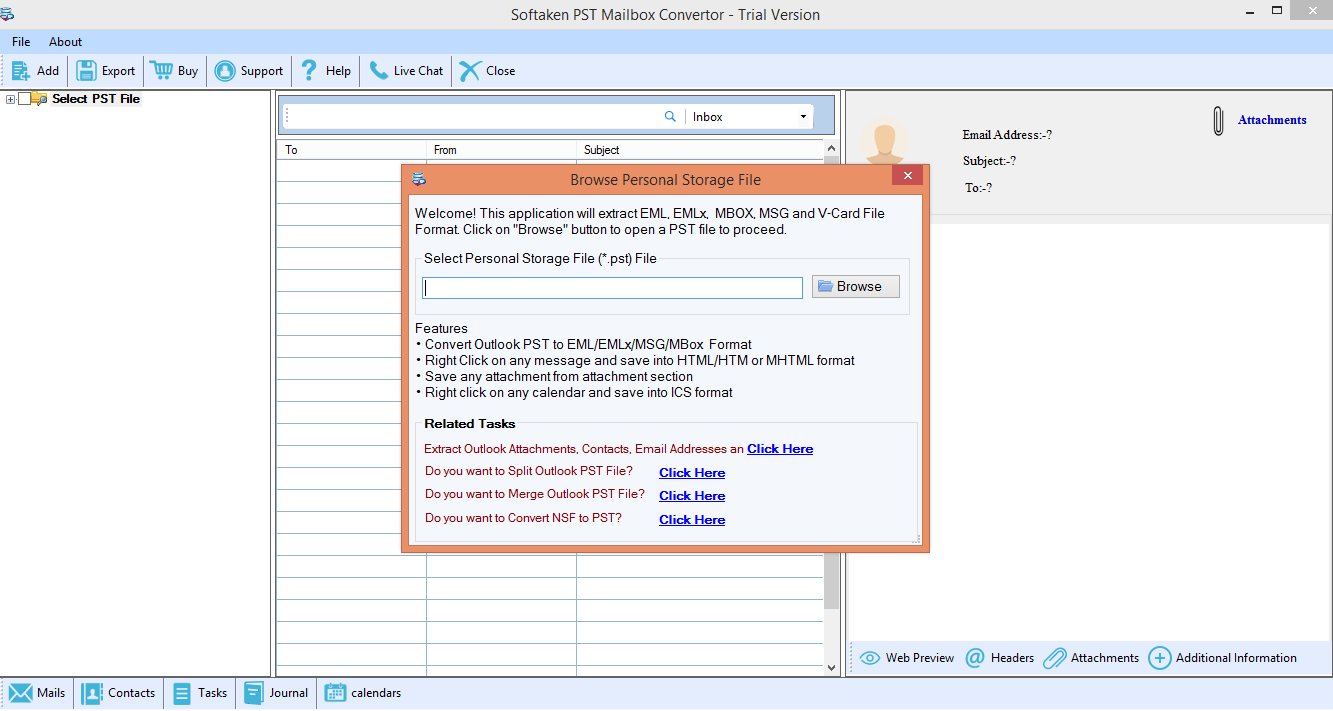
Step 2. Selection of PST file – Go to the Browse option and select PST file from your system. The software loads any big as well as small size PST file without creating any hurdles.

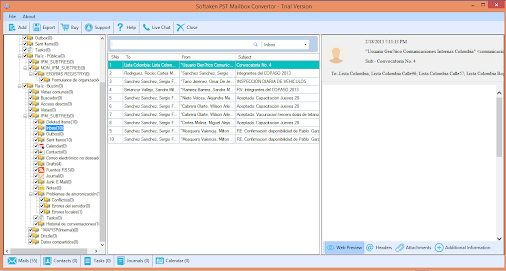
Step 3. Preview Option – As you successfully load the PST file, you will get a complete preview of the PST file and its components. This will help you ensure the exactness of the files ready for conversion into EMLX format.

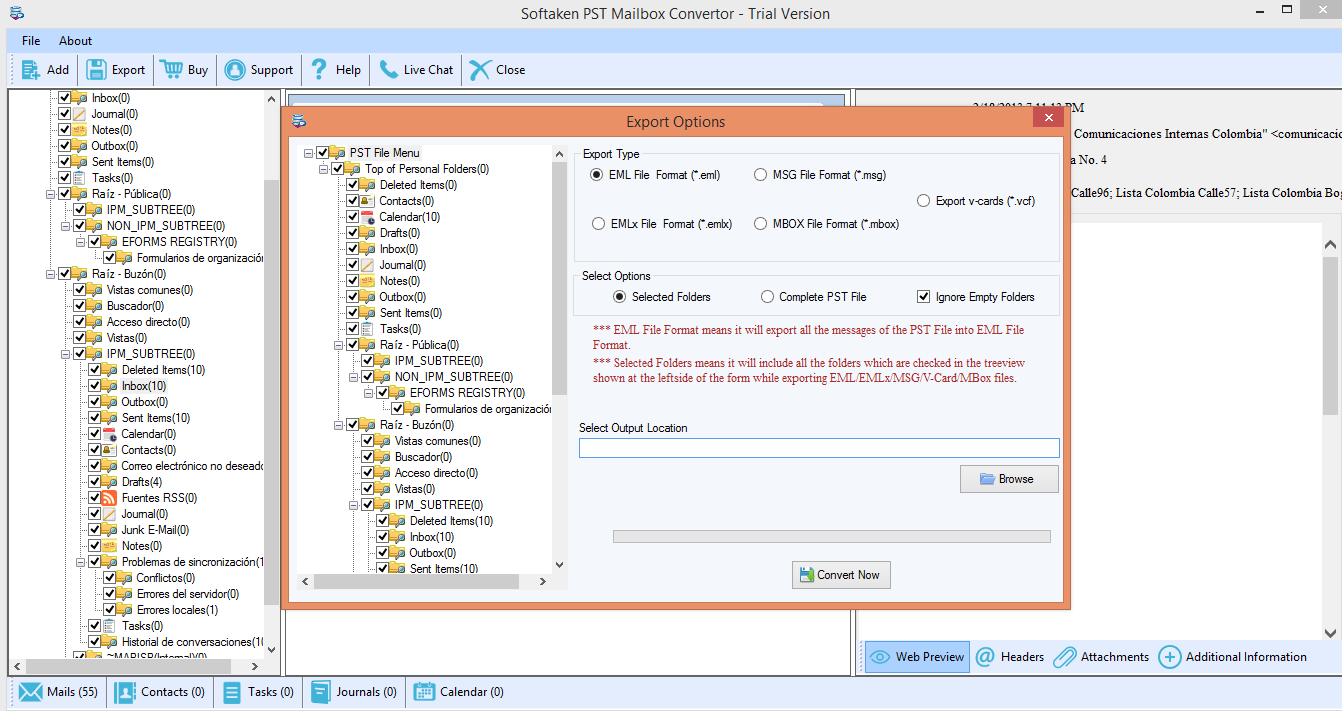
Step 4. Pick the required export option – PST to EMLX Converter tool provides various options. You need to choose the options as per your desire. To migrate PST files into Apple Mail, choose EMLX file format.
Selected Options – If you want to export the complete PST file to Apple Mail, choose the complete PST file option, or in case of selected items, choose Selected Folders.
Step 5. Choice of Output Directory – Here, you need to provide a location where you want to save the resultant files. Go to the Browse button and specify a path for saving results.
Step 6. Click on Convert Now – Finally, click on the Convert Now button to start the export process. It will take a couple of minutes to complete the process.

